
There’s something deeply grounding about baking bread – especially when it’s made with real, nourishing ingredients.
In a world where most store-bought loaves are filled with seed oils, preservatives, and additives that your body doesn’t need, learning how to bake bread without vegetable oil is one of the simplest and most satisfying ways to reclaim your kitchen.
If you’ve ever looked at the back of a bread bag and wondered what half the ingredients even are, this post is for you.
Today, I’ll show you how I replaced store-bought bread with two easy, seed-oil-free sourdough recipes that my family actually eats every week: soft sourdough discard wraps and a gentle, sandwich-style sourdough loaf.
These two recipes have become true staples in our home – the kind of dependable, real-food basics that make weeknight meals flow and weekend lunches simple.
Why Make Bread Without Vegetable Oil?
Most conventional breads are made with industrial seed oils like canola, soybean, or sunflower oil. They’re cheap to produce, shelf-stable, and they help dough stay soft for days – but they come with a cost.
Refined vegetable oils are highly processed and inflammatory, often stripped of nutrients through bleaching, deodorizing, and high-heat extraction. When we replace those oils with butter, ghee, olive oil, or coconut oil, we create breads that nourish rather than deplete.
Baking your own seed-oil-free bread means:
- You control every ingredient.
- You can use long-fermented sourdough for better digestion.
- You save money and skip additives.
- You reconnect with a slower, more mindful rhythm in the kitchen.
And because both of these recipes use sourdough, they’re easier on digestion and naturally more flavorful – without needing to rely on sugar or oils for softness.
The Two Breads I Make Every Week
The first is my sourdough discard wraps – soft, flexible, and quick.
The second is a soft sourdough sandwich loaf – a family-friendly version of bread that toasts beautifully and holds together for packed lunches.
Together, they cover almost every bread need in our home, from enchiladas and quesadillas to breakfast toast and toddler sandwiches.
1. Sourdough Discard Wraps
These wraps started as a way to use up sourdough discard, but they quickly became a weekly go-to.
They’re naturally seed-oil-free, soft straight from the pan, and surprisingly sturdy even when chilled – perfect for fridge lunches or quick dinners.
Making them is a gentle rhythm:
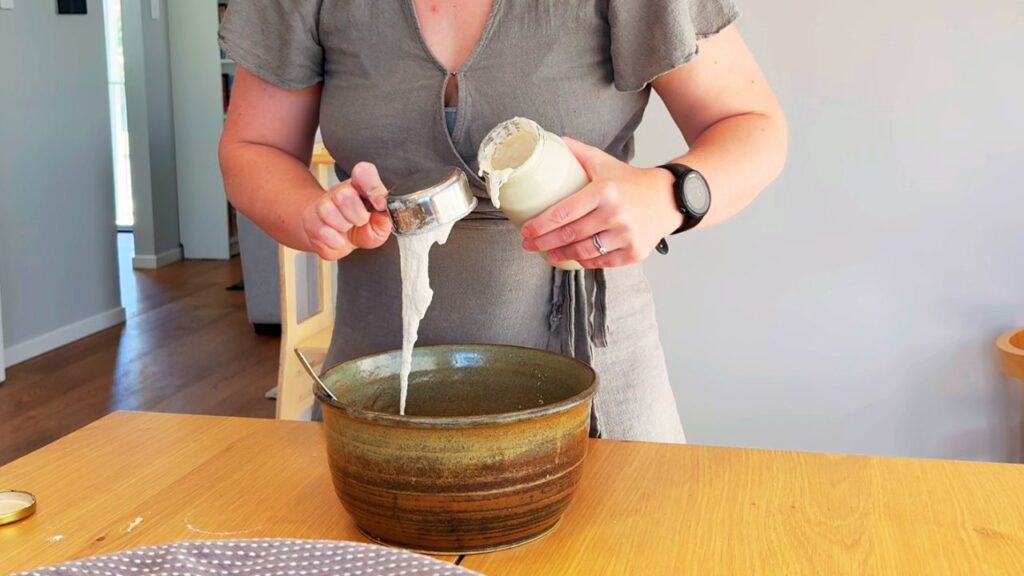
You begin by whisking together your sourdough discard, flour, water, and salt. The dough should be soft and pliable — not sticky, not dry.
Once it rests, you divide it into small balls and roll them thin on a lightly floured surface.
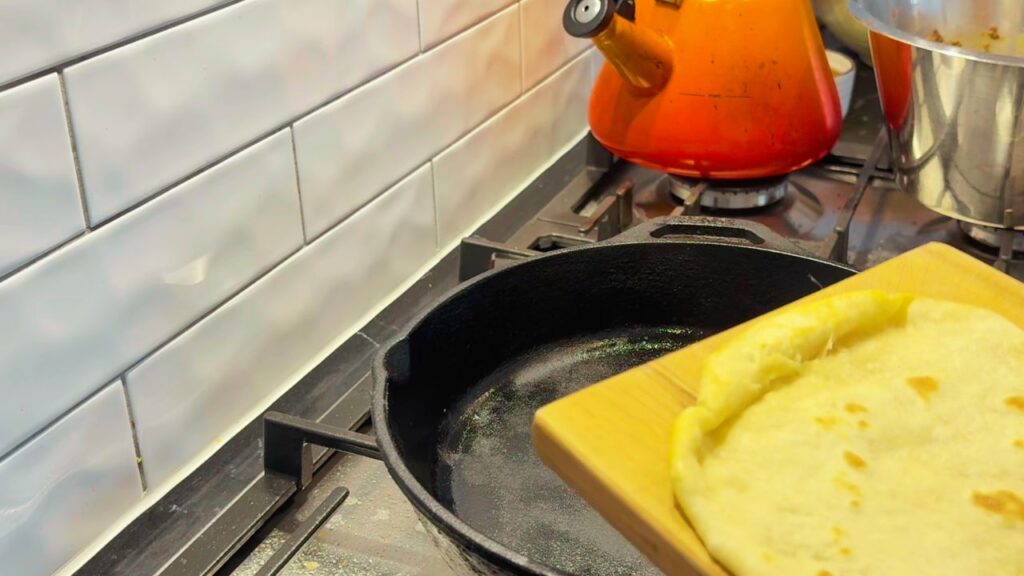
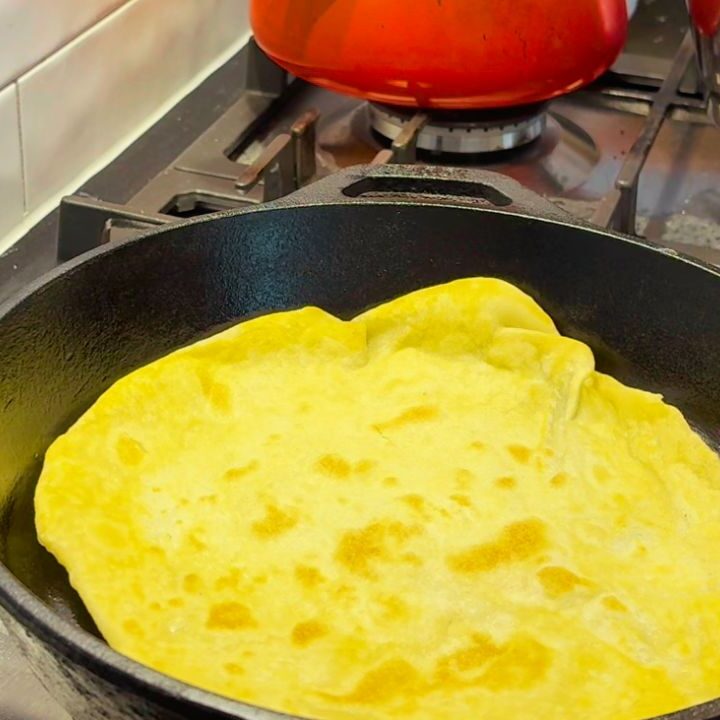
A quick cook on a hot skillet brings them to life: bubbles form, the surface browns lightly, and the scent of sourdough fills your kitchen.
You can cook them in a touch of butter, ghee, or olive oil — all healthy, seed-oil-free options that add richness and flavor.
Stack them in a tea towel to keep warm and soft while you finish the batch.
When cooled, they stay flexible in the fridge for several days and freeze beautifully with parchment between each wrap.
In our kitchen, these wraps become:
- Breakfast wraps with scrambled eggs and cheese
- Toddler snack roll-ups with mashed avocado
- Quick dinners like sourdough enchiladas or burritos
- Homemade pizzas with leftover sauce and toppings
They’re the most forgiving, multi-purpose bread you can make and they’re entirely seed-oil-free.
Soft Sourdough Discard Wraps (No Yeast, No Knead, Seed-Oil-Free with Ghee)
These soft sourdough discard wraps are tender, flexible, and completely seed-oil-free — made with a mix of all-purpose and spelt flour and cooked in ghee for the perfect buttery flavor. There’s no yeast, no kneading, and no fuss — just a calm, simple rhythm of mixing, resting, and rolling.
Ingredients
- 1 cup (240 g) sourdough discard (100 % hydration — equal parts flour and water)
- ½ cup (60 g) all-purpose flour
- ½ cup (60 g) spelt flour
- 2 Tbsp ghee, melted (plus more for cooking)
- ½ tsp sea salt
- 3–4 Tbsp warm water, as needed for a soft dough
Instructions
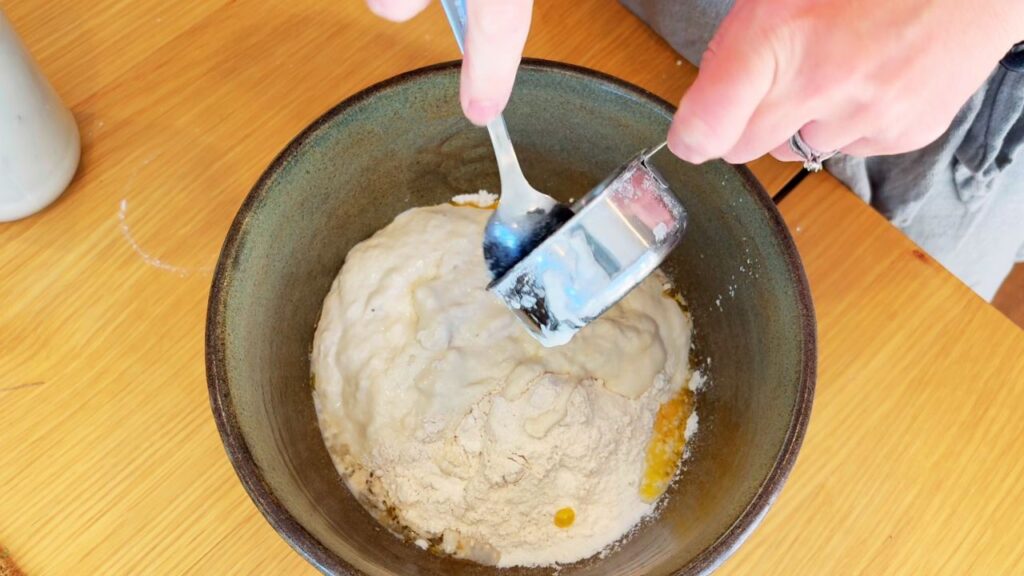
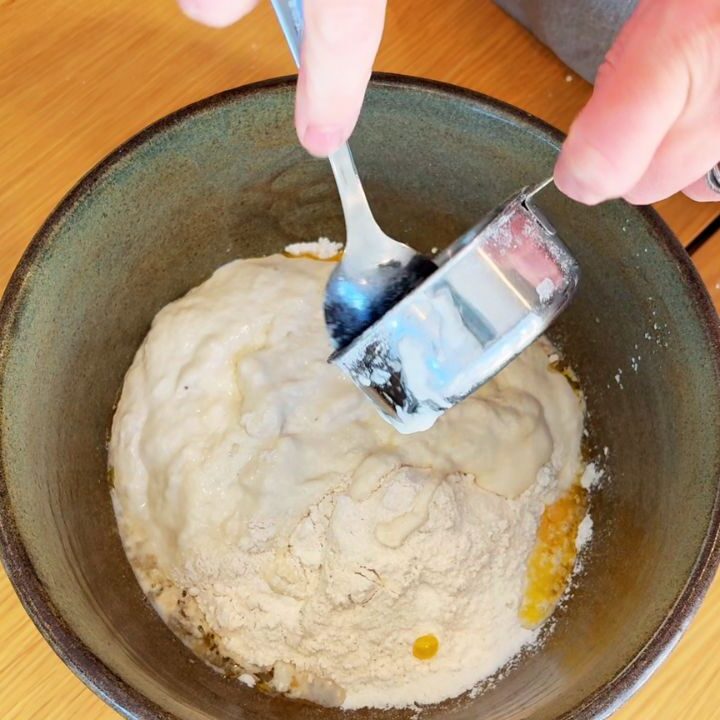
1. Mix the dough - In a medium bowl, combine the sourdough discard, flours, salt, and melted ghee. Add the warm water one tablespoon at a time while stirring until the dough comes together into a soft, smooth ball. It should feel supple and elastic, not sticky.
2. Rest - Cover the bowl and let the dough rest at room temperature for 30–60 minutes. This rest allows the spelt flour to hydrate and the gluten to relax, so the wraps roll out easily.For a more fermented flavor and better digestibility, you can let it rest 4–6 hours or overnight (cover loosely at room temperature if cool, or refrigerate if warm).
3. Divide and roll - Divide the dough into 6–8 balls. Lightly flour your surface and roll each into a thin circle, about 2 mm thick. Roll a little thinner for enchiladas or keep slightly thicker for sturdier wraps.
4. Cook - Heat a cast-iron or non-stick skillet over medium-high heat and brush lightly with ghee. Cook each wrap for 30–45 seconds per side until it bubbles and golden spots appear. Stack the cooked wraps in a clean tea towel to stay soft and pliable.
5. Use or store - Use straight away for enchiladas, burritos, or quick wraps. To store, cool completely and refrigerate up to 4 days or freeze with parchment between each wrap. Rewarm in a skillet to soften before serving.
Notes
Nutrition Information:
Yield: 6 Serving Size: 1Amount Per Serving: Calories: 307Total Fat: 15gSaturated Fat: 6gUnsaturated Fat: 7gCholesterol: 11mgSodium: 397mgCarbohydrates: 40gFiber: 2gSugar: 1gProtein: 5g
2. Soft Sourdough Sandwich Loaf
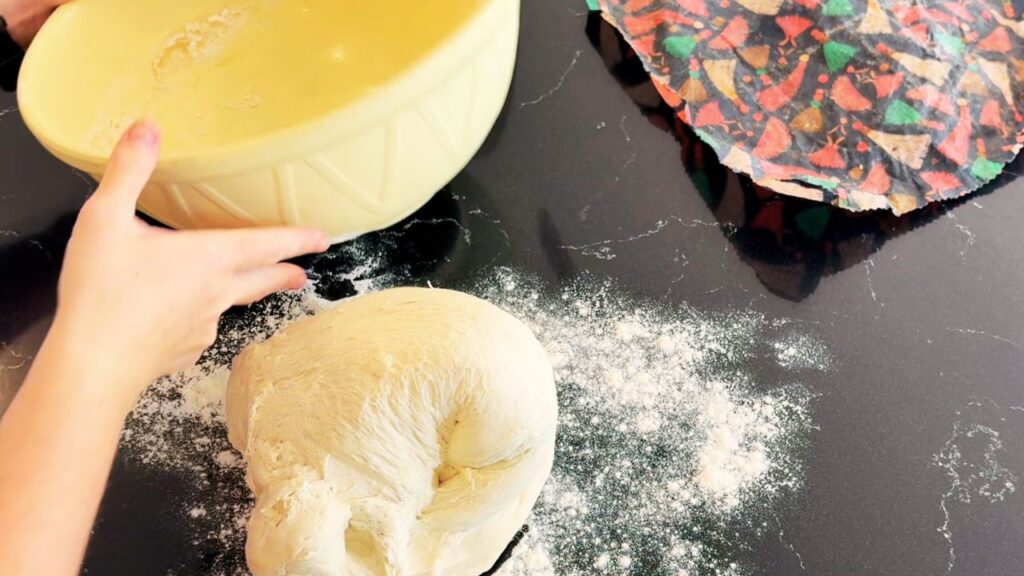
If your family loves a soft sandwich bread but you want to skip the vegetable oils, this is your answer.
It’s a sourdough loaf without seed oils or additives, tender and mild with a delicate crust that even little ones enjoy.
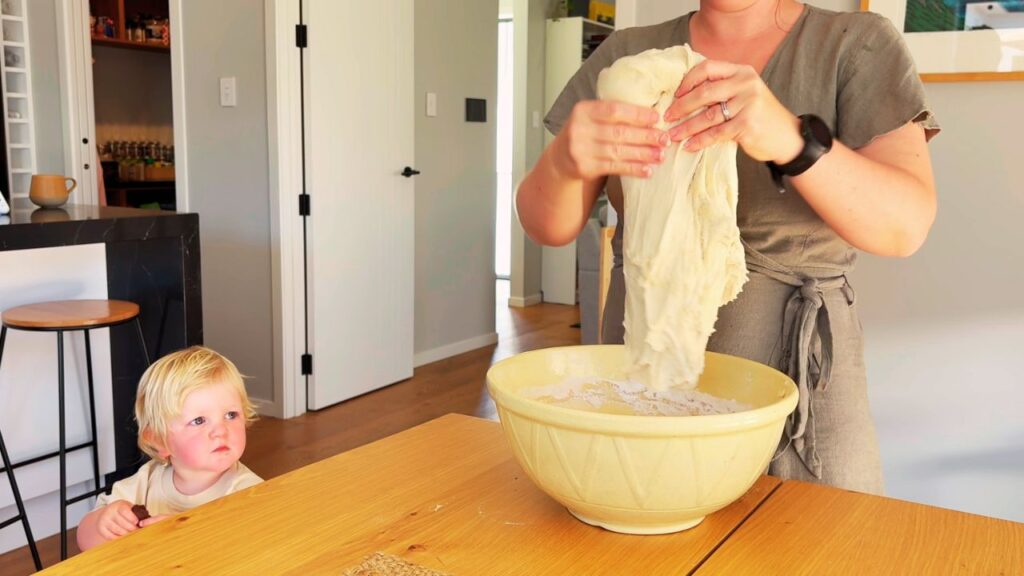
This recipe begins with a simple sourdough starter and a slow fermentation for easy digestion. The dough is kneaded until smooth and elastic – either by hand or with a mixer, and allowed to rise until doubled.
You’ll shape it gently into a loaf tin and brush the top with melted butter (or olive oil if you prefer) for that signature golden finish or dust with flour if you like.
As it bakes, the crust turns a soft amber color and the aroma fills your home.
Once cooled, slice it with a serrated knife. You’ll notice the crumb is tight yet springy – perfect for sandwiches, French toast, or simple buttered toast at breakfast.
This sourdough loaf keeps for several days at room temperature and freezes well too.
Unlike most store-bought bread, it doesn’t dry out or crumble because the natural fermentation locks in moisture.
When you make your own bread without vegetable oil, you not only nourish your body – you also slow down enough to notice the textures, the smells, and the small rituals that bring calm to your week.
Seed-Oil-Free Sourdough Bread (No Yeast, No Knead)
This soft, seed-oil-free sourdough loaf is made with an unfed starter straight from the fridge — no commercial yeast, no kneading, and no seed oils. It has a tender crumb, golden crust, and slow-fermented flavor that’s gentle on digestion and simple to make as part of your weekly rhythm.
Ingredients
- 200 g stoneground flour
- 300 g all-purpose flour
- 325–340 g water (start lower, adjust as needed)
- 100 g sourdough starter (unfed, straight from the fridge)
- 10 g sea salt
- 15 g sugar or honey
- 20 g butter, softened (or olive oil for seed-oil-free version)
Instructions
1. Mix the Dough - In a large bowl, combine the stoneground flour, all-purpose flour, and salt. Add the sourdough starter straight from the fridge, then pour in water, sugar, and softened butter or olive oil. Stir until a rough, sticky dough forms. It will come together with a spoon or dough whisk — no kneading needed.
2. Rest (Autolyse) - Cover and let the dough rest for 30 minutes. This allows the flour to fully hydrate and helps gluten develop naturally, making the dough smoother and easier to handle later.
3. Stretch & Fold - Over the next 3–4 hours, perform 3 rounds of stretch-and-folds (every 30–45 minutes). Each fold helps the dough become more elastic and airy.
4. Bulk Ferment - Cover the bowl and let the dough rise at room temperature (around 21–23°C / 70–73°F) until doubled and bubbly. This usually takes 6–10 hours, depending on temperature and starter strength.
5. Shape & Proof - Gently shape the dough into a round or oval loaf. Place into a greased loaf tin or lined proofing basket. Cover and allow to proof until puffy - usually another 2–4 hours.
6. Bake - Preheat your oven to 220°C (430°F). Bake for 25–30 minutes, until golden brown and the loaf sounds hollow when tapped underneath.
7. Cool & Slice - Let the loaf cool completely on a wire rack before slicing. For toddler snacks or sandwiches, slice and freeze once cooled to keep the texture soft when defrosted.
Notes
Nutrition Information:
Yield: 12 Serving Size: 1Amount Per Serving: Calories: 189Total Fat: 2gSaturated Fat: 1gTrans Fat: 0gUnsaturated Fat: 1gCholesterol: 4mgSodium: 1419mgCarbohydrates: 38gFiber: 1gSugar: 3gProtein: 5g
How to Replace Store-Bought Bread (and Keep It Realistic)

Replacing store-bought bread doesn’t mean you need to bake every day.
The goal is to create a rhythm that supports your week – and these two recipes make that doable.
Here’s how I keep it simple:
- Bake once, use twice.
The wraps and loaf share many ingredients, so I often mix both on the same day while the oven’s warm. - Freeze in batches.
Slice the loaf before freezing for easy toast; stack wraps with parchment between each layer. - Keep a rotation.
Bake wraps midweek, a loaf on the weekend, and always have a batch ready for quick dinners. - Reuse the base.
Wraps become enchiladas, pizza bases, or breakfast burritos; the loaf becomes toast, sandwiches, or breadcrumbs.
This kind of routine brings consistency and comfort – and it’s one of the simplest steps toward a seed-oil-free kitchen.
Ingredient Swaps That Keep Bread Seed-Oil-Free
If you’re adapting your favorite recipes, swap out vegetable or canola oil for:
- Butter or ghee: for softness and flavor
- Olive oil: for lightness and shelf stability
- Coconut oil: for extra moisture (especially in enriched doughs)
You can also brush your loaves with butter instead of oil before baking for that rich, golden crust – without adding unnecessary seed oils.
The Real Reward: A Calm Kitchen Rhythm
The beauty of these two recipes isn’t just the taste – it’s the rhythm they bring.
When your home smells of baking bread, and you know every ingredient came from your pantry, there’s a sense of peace that store-bought food simply can’t give.
Replacing seed-oil-heavy products with homemade, nourishing alternatives isn’t about perfection – it’s about presence.
It’s about choosing slower, better food that supports your family’s energy, digestion, and wellbeing.
And if you’ve been meaning to move toward a seed-oil-free kitchen, starting with bread is one of the easiest and most rewarding first steps.
Bringing It All Together
With just two recipes – sourdough discard wraps and a soft sandwich loaf, you can easily replace almost every store-bought bread in your home.
They’re versatile, nourishing, and surprisingly simple to fit into your weekly rhythm.
You’ll notice the difference right away: the flavor, the texture, the calm of knowing exactly what’s in your food.
And once you’ve experienced that, you’ll never want to go back to supermarket loaves again.
What to Read Next
If you’re moving toward a seed-oil-free kitchen and family rhythm that flows, you’ll love these next:
How to Make Seed Oil Free Holiday Condiments from Scratch
Bring calm and nourishment to your festive table with homemade condiments that skip the seed oils and refined ingredients. In this post, I share my go-to holiday staples – gravy, golden honey mustard, and garlic herb butter – all made from scratch with real, wholesome fats that support digestion and energy during the busy season.
Simple Bread Recipe Toddlers Love | Stretch and Fold Tiger Loaf
Need a soft, quick bread without the wait? This tiger loaf uses a gentle stretch-and-fold method for that same chewy texture as sourdough – but in less time with instant yeast. It’s a family favorite, especially for toddlers, and a perfect everyday alternative to store-bought loaves with no seed oils or additives.
How to Make Herb Mayo (Seed Oil Free) for Nourishing Holiday Meals
This fresh, herby mayonnaise is the perfect finishing touch for slow-roasted meats, leftover sandwiches, or simple vegetable platters. Learn how to make a creamy, seed-oil-free mayo base and infuse it with herbs for a vibrant, gut-friendly holiday condiment that keeps meals both flavorful and nourishing.
The Seed-Oil-Free Kitchen Starter Guide
Download my free guide and learn how to stock your kitchen for hormone-healthy, gut-friendly, real-food meals all year long.
Items I Use & Love
Curious about the tools, cookware, and ingredients that make seed-oil-free cooking simple in our home?
Explore my favorites here → Items I Use & Love
Watch the Full Video
If you’d love to see the rhythm of these recipes in real life, you can watch me make both breads, start to finish, in my latest YouTube video:
You’ll see how I mix, stretch, and bake these sourdough staples, plus how I use them in real meals throughout our week.
Stay in the Flow
If this post inspired you, you might also love my:
- Seed-Oil-Free Kitchen Starter Guide (Free PDF) – a simple roadmap for swapping oils, fats, and staples the calm way.
- YouTube Channel – Mumma Flow – for weekly videos on wholesome food, gentle family rhythms, and seasonal living.
Every small step toward cooking from scratch – even just baking your own bread – brings more rhythm, nourishment, and peace into your home. Thanks for being here and sharing a piece of your day with me.
Every time we pause to knead dough, stir a batter, or set a loaf to rise, we’re doing more than cooking – we’re creating rhythm and nourishment that flows through our homes.
I hope these seed-oil-free breads bring calm, connection, and the simple pleasure of real food to your family table. Until next time, keep cooking with heart, resting when you can, and finding your own gentle rhythm in the kitchen.
[…] enchiladas are one of those meals. They’re made with wraps from my simple sourdough recipe, filled with the same batch-cooked mince and topped with cheese and enchilada tomato sauce. It’s […]